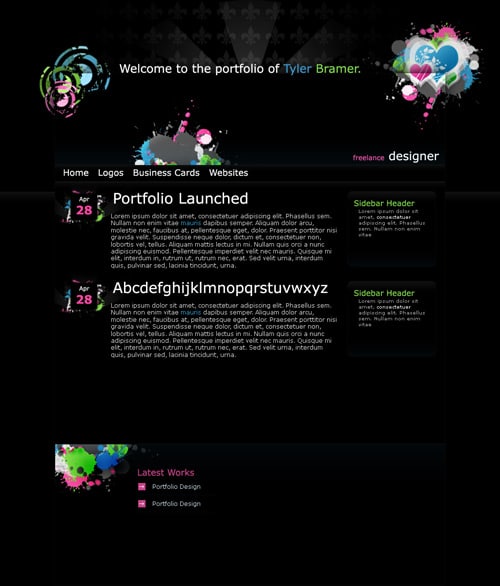
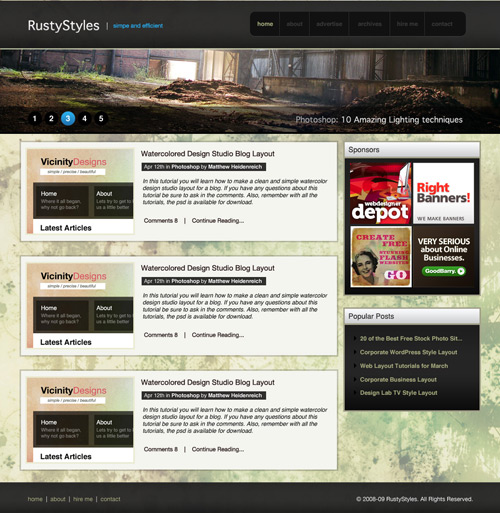
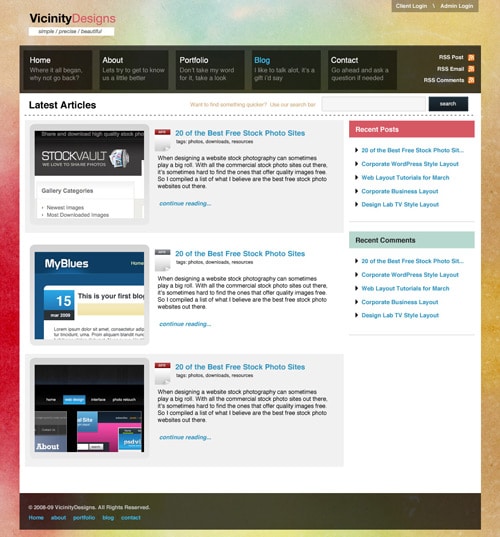
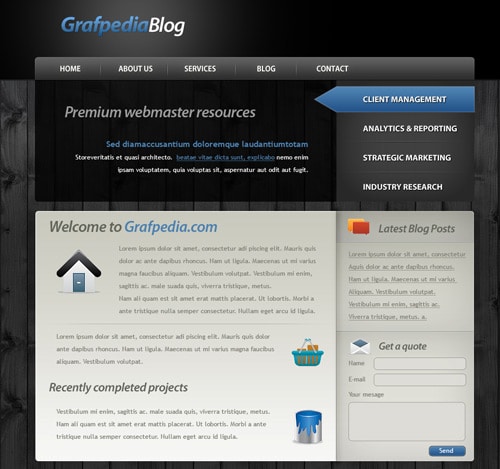
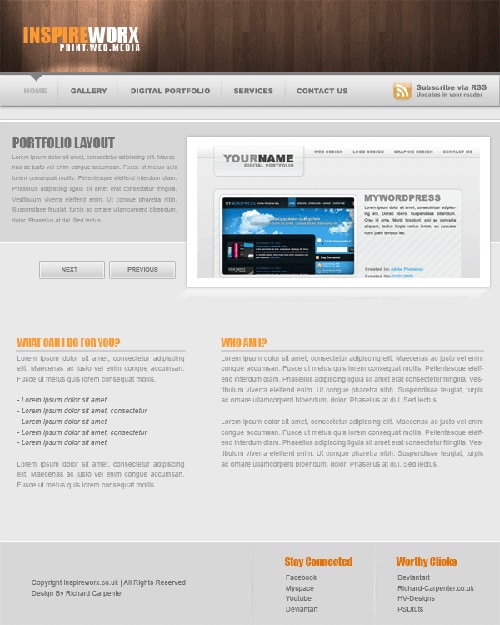
Create a clean elegant wordpress theme design using adobe photoshop.
Step 1
Create new document 1360px x 1500px 72dpi. Background color: #000, ( Black )
Note: Width is 960px out 1360. Leaving 200px on each side. So What I am saying is leave 200px space on both sides of your layer and the middle should come out to 960px.
Step 2
Select the paint brush( select brush with blur edges ) tool and create 4 circles. Circle 1:#308fab, Circle 2:#3f2e49, Circle 3:#58303d, Circle 4:#78372e,
Step 3
Now Lets stretch our image. Go to edit>>free transform and make image bigger. Then move image upward when completed
Step 4
Ok so we will now add a nice effect to our background. Select on layer with four colors and go to Filter>>Noise>>Add Noise.
Amount:30%, Distribution:Gaussian, and select Monochromatic.
Step 5
Go to Filter>>Blur>>Motion Blur
Angle:90, Distance:225.
Step 6
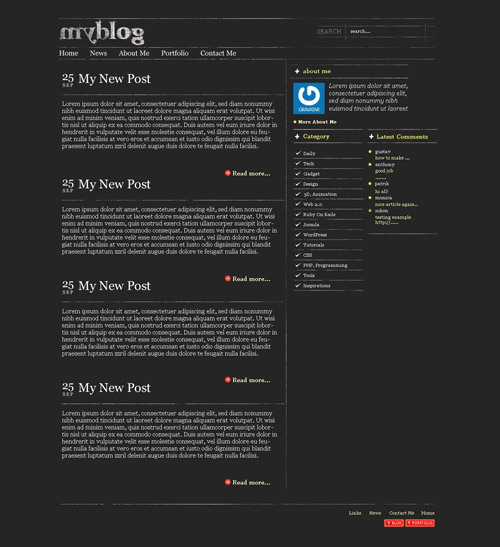
Now select the rectangle tool and create a rectangle at the very top ( About 50px high ) and change the layer opacity to 35%
Note: Whenever I create dummy links I always have links on one text line so once you have the type tool selected Double click and one line should appear then
type the words.
Select the type tool and create 4 links. Home, About, Contact, Services. ( 4 spaces after each word, hit spacebar 4 times after you type a word that way you do not have to make
indiviual links )
Step 7
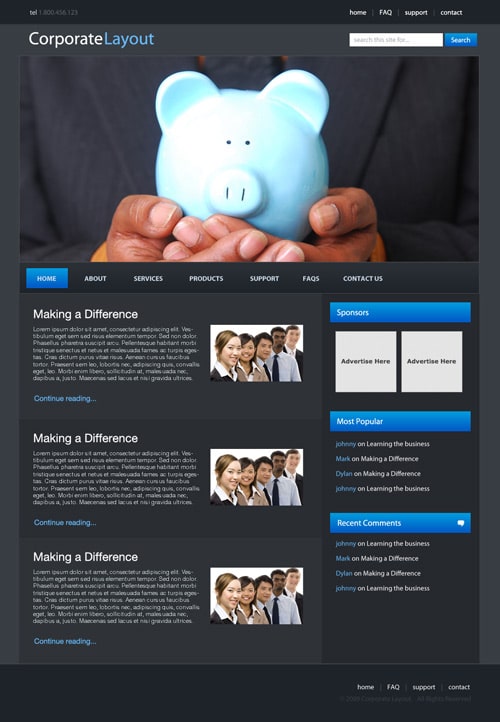
Now we will create a search form. Select the rectangle tool Color:#232224, then draw a box across the top right leaving room for a button. Then add the following text,Looking for something
For our search button select the rounded rectangle tool and create a small rectangle to the right of our search form background.
Now right click on search button layer>>Blending Options>>Gradient overlay.
Left color:#040404 , Right color:#292928;
Now let’s add the following text to our search button. Search
Step 8
Select the rectangle tool Color:#000. Now create a box 960px across the layout and about 325px height. Then change the layer opacity to 35%
Step 9
Now lets add a featured image, width:590px x height:295px;
Step 10
Select the type tool. Now you create a heading title of your own or use my current heading title.Font:Size:23px, Arial, Bold.
Then create an post information link. Select the type tool and type the following.Posted by Marcell on 10.16.09 in Tutorials
Now write the excerpt. I used dummy text. Google search Lorem Ispum
Step 11
Now we will create a button. Select the rectangle tool Color:#000; Now draw a rectangle button. Right click on layer>>Blending options>>Gradient Overlay Left Color:#1b1b1b,
Right color:#0e0e0e
Duplicate the button layer. Then select the paint bucket tool ,Color:#373737, and fill the second black layer button.
Duplicate the first button layer. You should have 2 black button layers and 1 grey button layer.
Move buttons close together to give it that illusional look. ( zoom in to get best results )

Step 12
Select the type tool and type following.Read More. Font: Myraid pro, 29px, bold,. Now right click on text layer>>blending options>>Inner Shadow then copy current settings.
Step 13
Select the rectangle tool, color:#000, Then create a rectangle under featured section to bottom. Layer opacity 35%.
Step 14
Now we will create our post area. First thing we will create are our thumbnails. Create a thumbnail Width:275px height:164px,
then right click on thumbnail layer>>Blending options>>Stroke.
Note:I do not cover the post area as well since it is the same as the featured area
Step 15
Copy current post area from image below. It is almost the same as the featured box. You can do it champ!. For the line I used the line tool, 1px Color:#3b2221
Step 16
Duplicate post area 3 times.
Step 17
Now we will create our sidebar. Google search rss icons( Icon used in tutorial is from Wefunction ) Then place a rss button at the top
of the sidebar. Now select the type tool in type the following, Subscribe Rss Email Feed. Font:Arial, 15px, bold
Step 18
Now we will add some sidebar widgets to our layout. Duplicate the read more button from the featured box and change the text to Sponsors. Drag box down to sidebar. Now Google search 125 ads or create
your own and place it into the layout.
Step 19
Duplicate the the read more button once more and change the font to Popular post. Then select the text tool and create a heading( Font: Arial, 14px, bold ). Then create a description for
the post or known as the excerpt( Font: Arial, 10px ). Select the line tool Color:#3b2221 and create a line that seprates each post. Once you have the first popular post article completed
duplicate the group 2 times.
Step 20
For our last and final direction we will add a copyright to the bottom of our website mockup.
Congratulations! You have finished this tutorial. I hope everything was clear and that you understood this tutorial.
Related posts:


