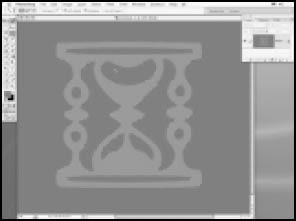
The Magic Wands tool is used to select areas using a single click. The tool works by sampling the colour of the image where you click and then looking at all adjacent pixels for those that are the same or similar in colour. Take a well-defined shape like the one here and click in it with the Magic Wands - the whole shape is selected in one go.
Most images don’t contain large areas of flat colour like the one above, so here’s a more typical use for the Magic Wands - selecting the girl’s jumper to change its colour. Using the Magic Wands, we can click on a section of the jumper to select all pixels with a similar color.
However, using the default setting there are many ‘islands’of unselected pixels, so not all of the jumper has been selected.
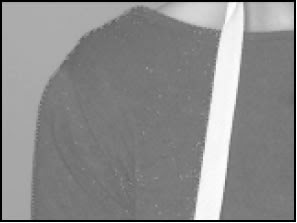
The Magic Wand will only select colours within a certain range,defined by the Tolerance setting. And it will only look at contiguous pixels – that is, ones that actually touch each other. Areas of colour not directly connected, like the chest and other arm, are not considered for selection.
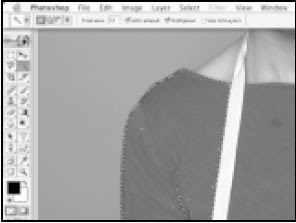
We can improve the ability of the wand to select the colours we want by increasing the Tolerance setting, from the default 32, to 50 then [Shift]+clicking in each of the separate areas. Any other parts of the jumper still not selected can be added by [Shift]+clicking on them again until you have a good clean selection with no ‘islands’.
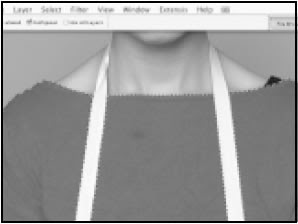
Here you can see that a part of the arm has been selected. This is due to the high tolerance setting used. You can easily remove it from the selection, but first reduce the tolerance to a lower value, such as 24, then [Alt]-click on the arm inside the selection to remove it.
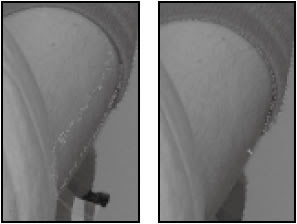
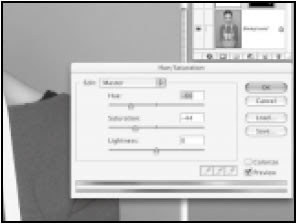
By adding a Hue/Saturation Adjustment Layer while the selection is still active, you can change the colour of the the jumper, and only the jumper. Photoshop creates a layer mask from the selection and uses is to limit which areas of the adjustment layer will actively affect the layers below.
If we zoom into the document we can see that there is a slight fringe of red. This is because some of the jumper that overlaps the background was left unselected. This is a limitation of the tolerance setting used by the Magic Wand. Fortunately, there is a way we can fix this.
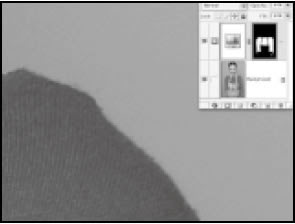
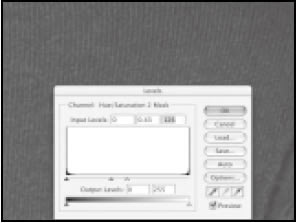
By selecting the layer mask and applying the Gaussian Blur filter with a smallish value we can make the layer mask slightly bigger. Then by applying Levels to the layer mask we can make the blurred edges brighter, controlling how much of the Hue/Saturation effect is applied to this area.
Tips
Unrestricted coloursWhen the Contiguous setting in the Options bar is checked, Photoshop makes a selection of similarcoloured pixels that are also physically joined to your starting point. Disable this setting and similar colour pixels across the whole image will be included, which can take a few moments.
Use All Layers
The Use All Layers option allows you to calculate the selection based on how the image actually appears on screen when working with multi-layered documents. If this is left unchecked, then only colours on the currently selected layer will be analysed for similarity.
Colour tweaks
The Hue/Saturation panel lets you adjust the whole spectrum or individual sectors of the colour spectrum. Choose these from the pop-up menu.
Let it slide
The sliders at the bottom of the Hue/Saturation panel enable you to adjust the range of colours affected in each sector
NOTE : ALL CREDITS FOR THE ORIGINAL TUTORIAL MAKER :)
=================================
=== For more tutorials keep visiting ;) ===
= http://photoshop-manic.blogspot.com =
=================================
No comments:
Post a Comment