Step 1
Open up a new document. Chose the size you want and create it according to what is the purpose of the the project. If you plan to print it, you should use 300dpi. If it's destined for screen then 72 should be fine.
Step 2
To be able to follow this tutorial you'll need to have a filter installed. The filter is called 3D Transform and it can be found on the Adobe Suite Extras CD. Here is an article on installing it.

Step 3
After you have installed your filter, go back into your document and create a new layer to put the cube in. You'll create one new layer for each cube you create. Then start the 3D Transform by going to Filter > Render > 3D Transform.
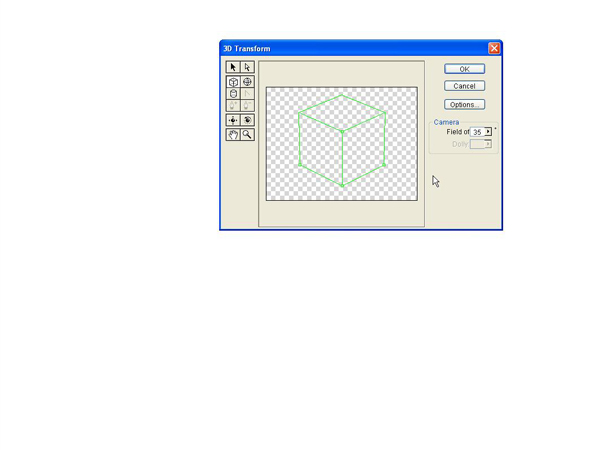
Step 4
In the 3D Transform filter select the cube button and draw a cube.
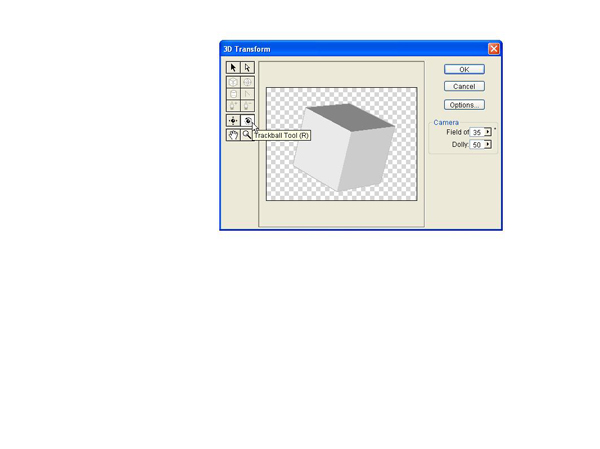
Step 5
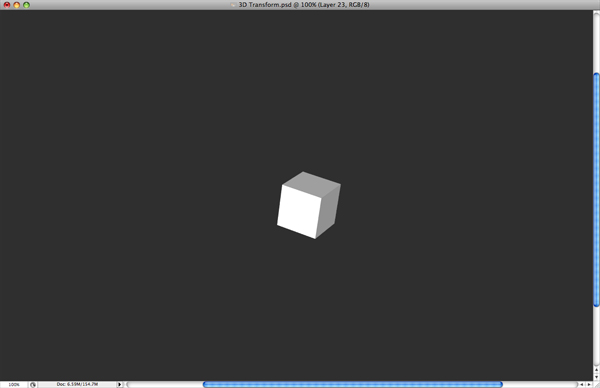
Select the Trackball Tool button. This will allow you to rotate the cube as you wish. Make sure you place it with the visible side only and press OK.
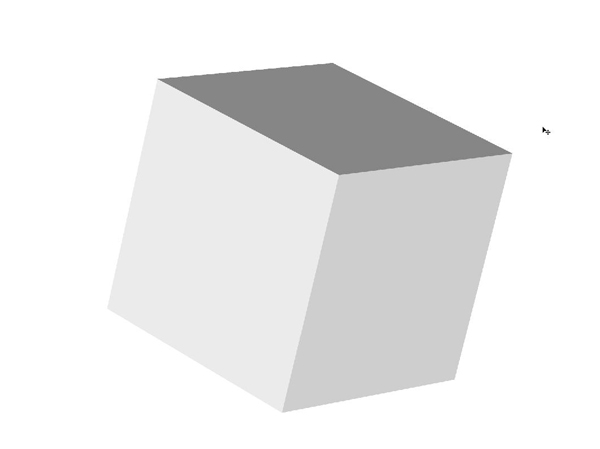
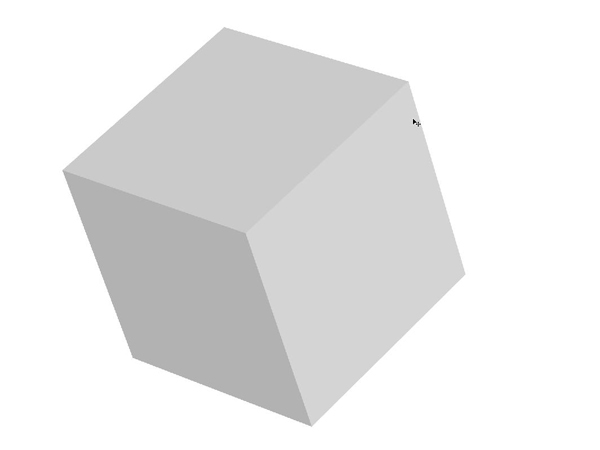
Step 6
As you can see you have one cube. You'll need a whole lot more, so start adding new layers for each cube you make. You'll need at least 20 or maybe 30 cubes. You'll probably not use all of them, but you need them just in case.
Step 7
After making the cubes, you can go back to Leopard to finish the tutorial because this 3D Transform filter is not available for Mac, or at least I couldn't make it work on my Mac. Of course, you could create cubes in a different program if you prefer and import them into Photoshop.
Step 8
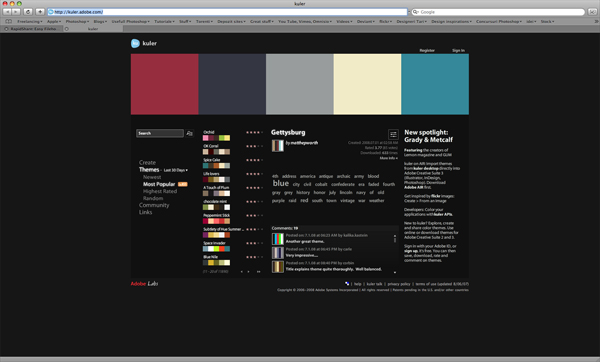
Open up your document that has all those cubes you created. The next step you need to do is to make a shape for each side of the cubes. I will make these shapes colored, so I went to Kuler. This website is useful because it helps me chose the right colors that work with each other.
Step 9
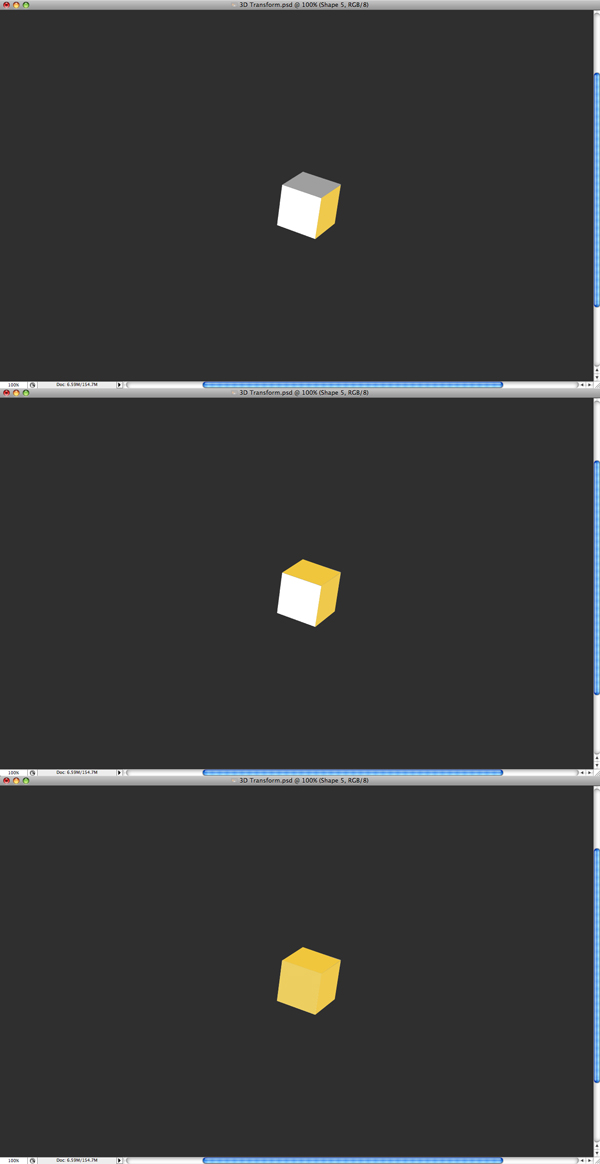
Make one of the cubes visible. Then move it into a separate folder. In this folder, you'll have all the colors for this specific cube.
Step 10
When you color the shapes you need to make sure you use different tones for each side. You can make selections and use fill in the colors with the Paint Bucket Tool (G), or any method you prefer.
Step 11
Next you need to make a stroke for each side of the cube. To do this, use the Line Tool (U) with a darker color than the other sides.
Step 12
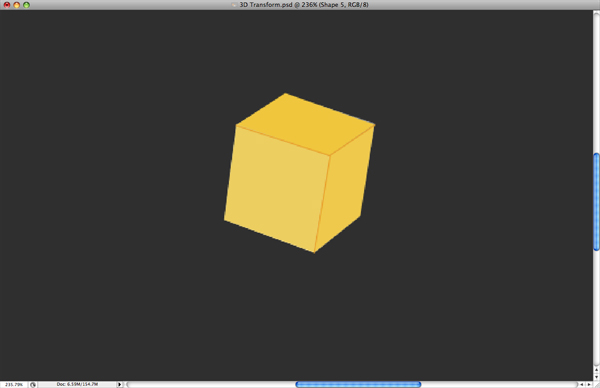
And last make a black stroke as I did to the cube, not to the sides. Do this by going to the Blending Options of the cube. Double-click on the cube layer to open up the Layer Styles and use the settings below.

Step 13
Repeat this process for each cube, but do not use the same colors for all the cubes. Use the colors you chose from Kuler.
Step 14
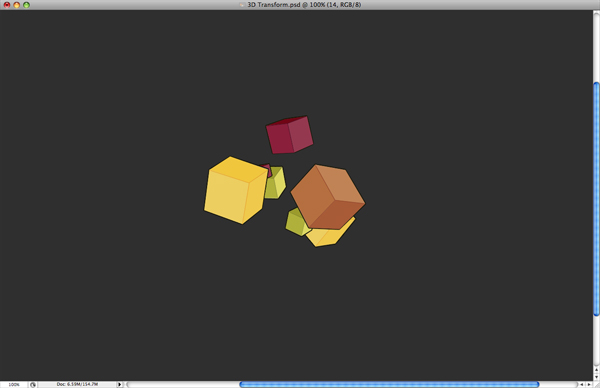
Continue making more cubes, duplicating them, resize, and rotate them. Make them look different and fill the screen with them.
Step 15
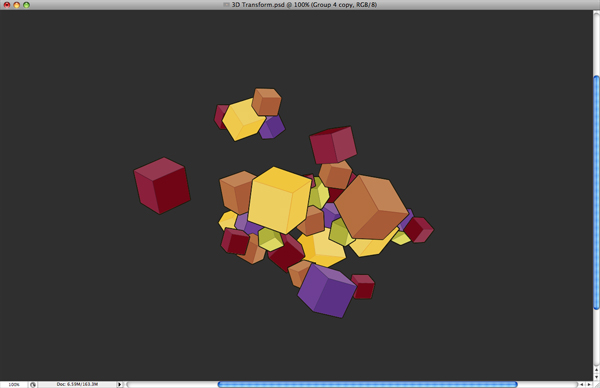
You can continue making cubes one by one, but in this case I will make this faster simply by moving the cubes into a group and duplicating all of them. I have duplicated all those cubes in four different sections. Each was rotated so that they will each be distinct.
Step 16
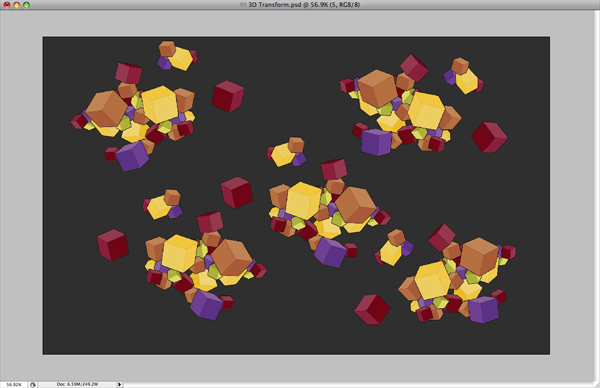
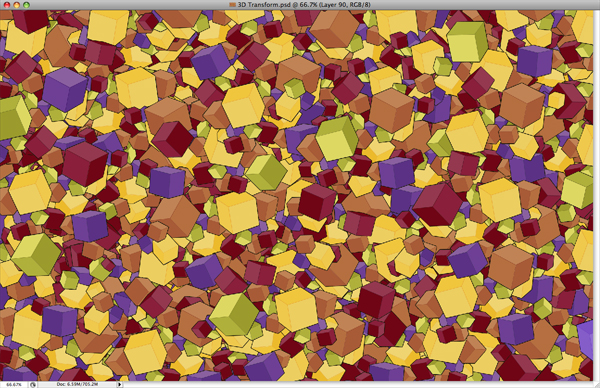
Next you need to continue duplicating them until you fill the screen with cubes. This will take a while especially if the document is big. Also, Photoshop may start slowing down as it takes up a lot of memory space.
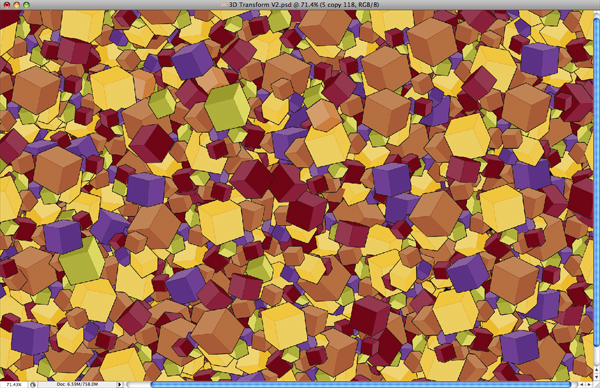
Step 17
Now you need to change some colors of these cubes and make them look nice. Maybe follow a pattern of colors you want. You do this by going in each cube folder and simply change the colors of the sides of each cube. Or maybe delete them and replace them with another one, whatever method works best for you to change the colors is fine. Be sure to play around with them until you are satisfied with the result.
Step 18
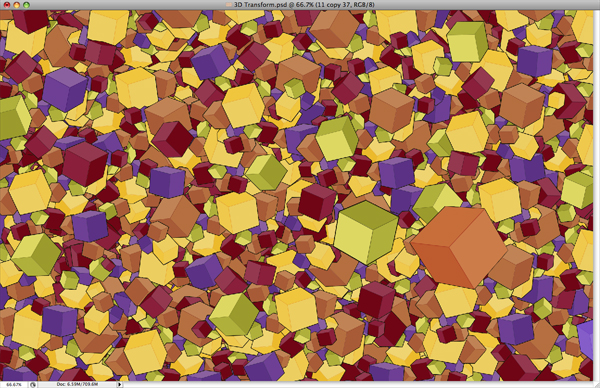
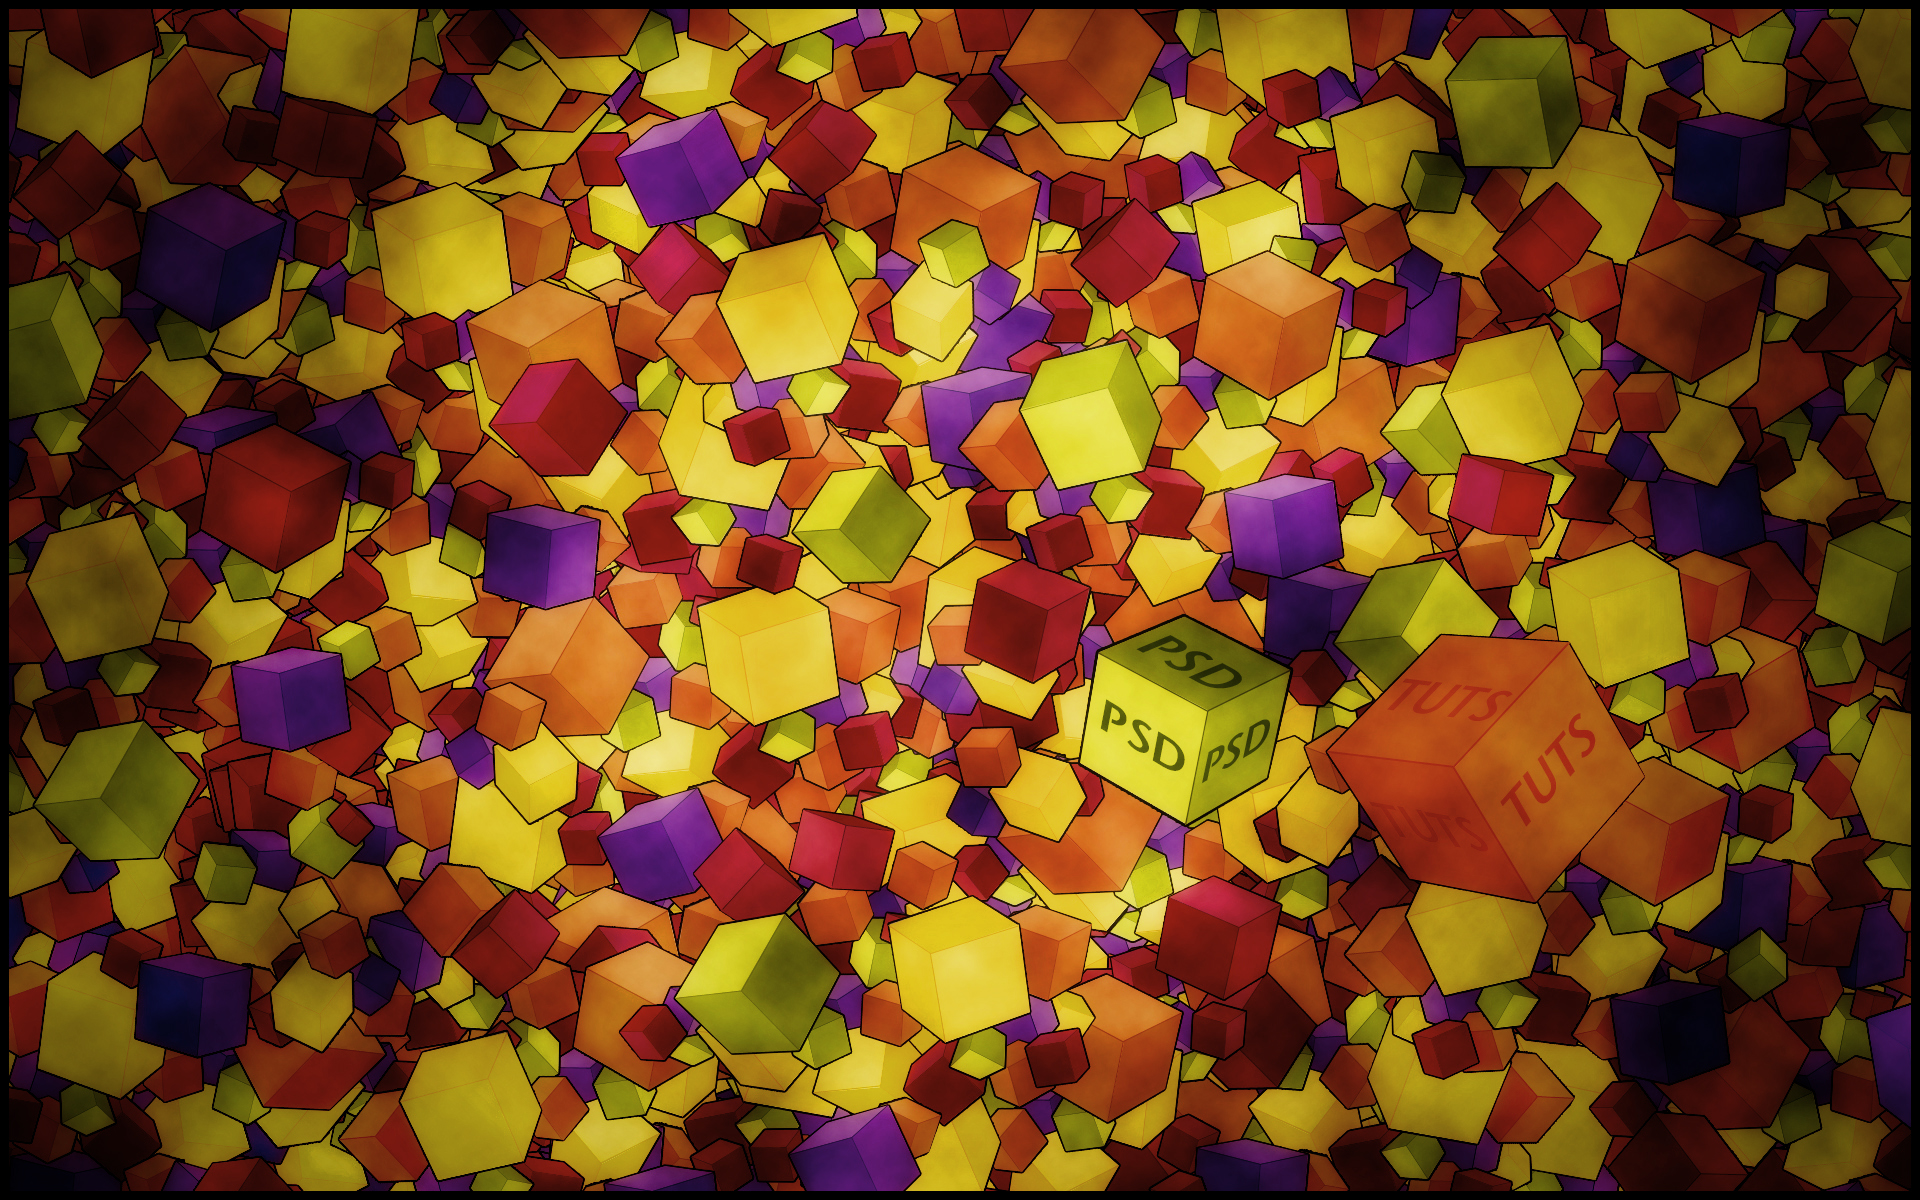
Make two cubes that will be the center of attention. They will also be bigger than the other cubes.
Step 19
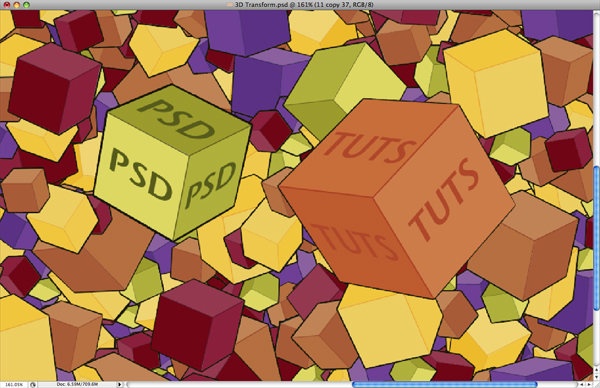
Next you need to add the text on these two cubes. You'll have to rotate, skew, and transform the text to fit in place. The font used is Stone Sans Sem.
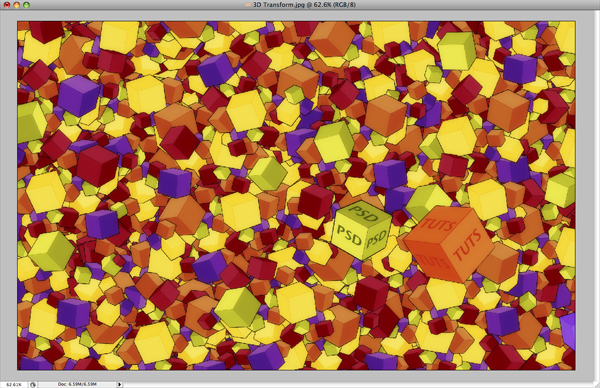
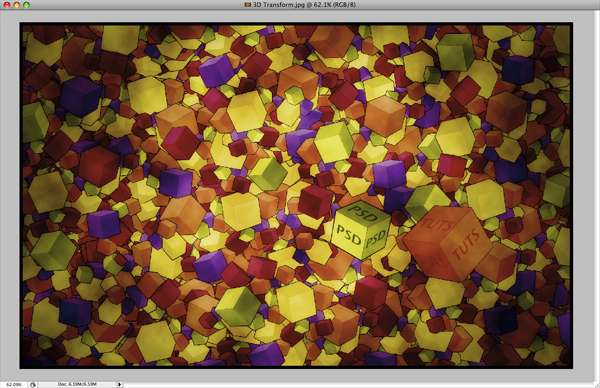
Step 20
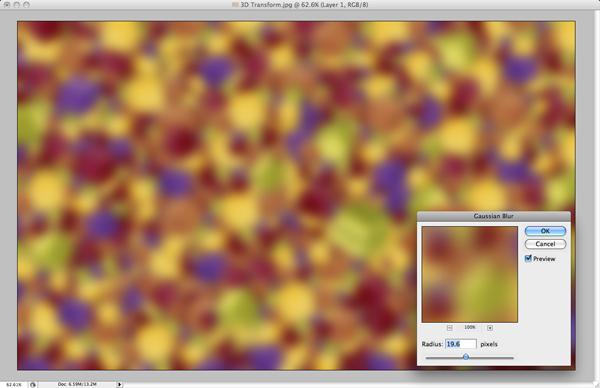
Save the work as a JPG. Now you'll work directly with the JPG. Open up the JPG, and we'll bring the colors to life. Duplicate the layer, go to Gaussian Blur, and set the Radius to 19.6px.
Step 21
Set the layer to Soft Light. Then flatten the image.
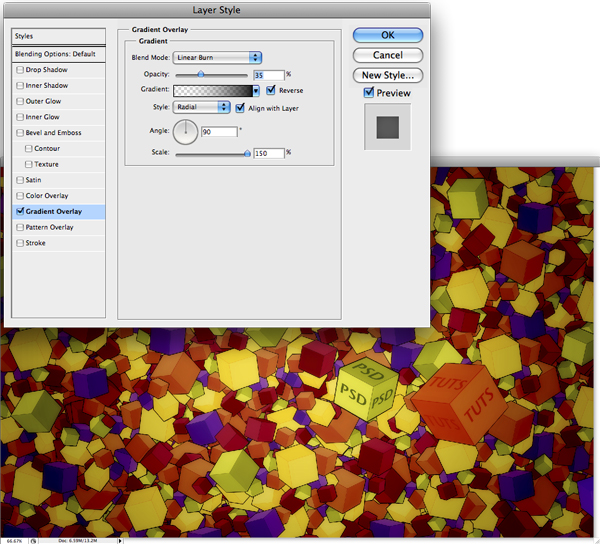
Step 22
Duplicate the layer again and use the settings shown below for the Blending Options.
Step 23
Make a nice black border around the image. Then make a new layer over the background and go to Filter > Render > Clouds.
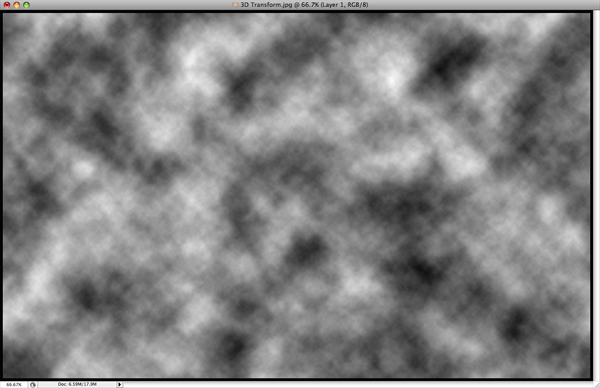
Step 24
Set the clouds layer to Soft Light.
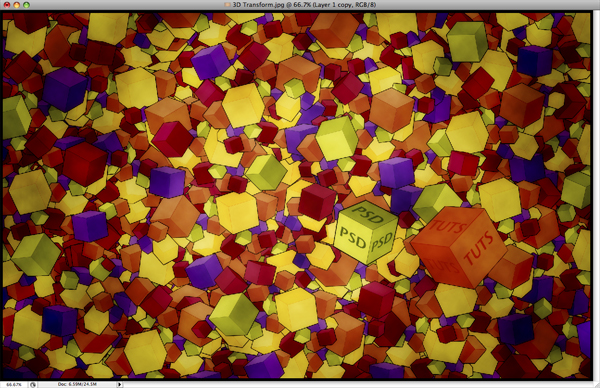
Step 25
Duplicate the clouds and set the duplicated layer to 50% Opacity to make the effect more intense.

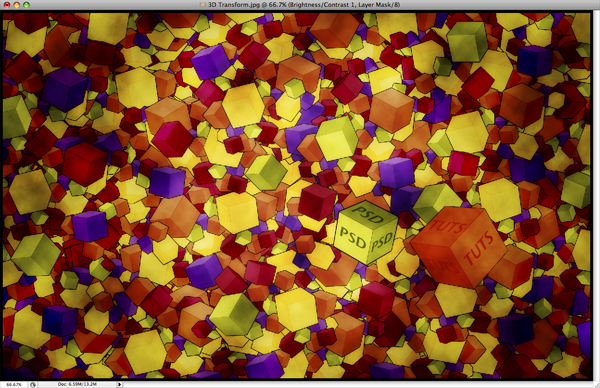
Step 26
Lower in the Layer Palette you have a button that is called Create New Fill or Adjustment Layer. Click on that button and select Brightness and Contrast. Use 0 for Brightness and +20 for Contrast.
Step 27
Again go to Create New Fill or Adjustment Layer and this time select Hue/Saturation. Set the Saturation to +20 and leave the others at 0. Also, make sure that Colorize is not checked.

Step 28
Now repeat Step 27 but this time set Hue to +53, Saturation to +25 and Lightness to 0. Also, make sure Colorize is checked this time.
Conclusion
The tutorial is not very complicated, but if you want to achieve a similar result you'll need to work at it a bit. You can experiment with this and add other design elements as well. I looking forward to seeing what others do with the techniques shown here.
=================================
=== For more tutorials keep visiting ;) ===
= http://photoshop-manic.blogspot.com =
=================================
No comments:
Post a Comment