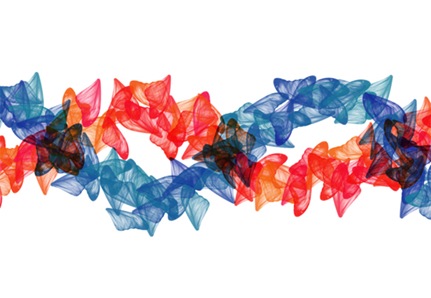
Preview of Final Results
Create Custom Photo Brushes Photoshop Tutorial
Step 1
Open Photoshop and open a photo to use as a brush. It should be something that would work in a pattern, where the content of the photo is obvious as various sizes. I'm using this "blue angel wing" I found on iStockPhoto. IT should be relatively large, perhaps 1000 pixels for both width and height. If you create a brush at a small size, setting the brush to a larger size than originally created will cause it to lose resolution. But making it smaller is no problem, just like resizing a photo.
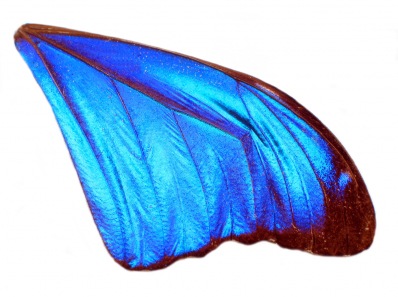
© ISTOCKPHOTO/DON WILKIE
Optional: You can download this file to use at http://www.istockphoto.com/file_closeup.php?id=130023 or use a similar one.
Step 2
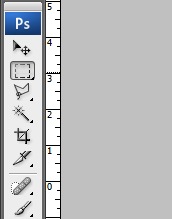
To first define a brush, we need to select the area. Click the Rectangular Marquee tool on the toolbar.
Step 3
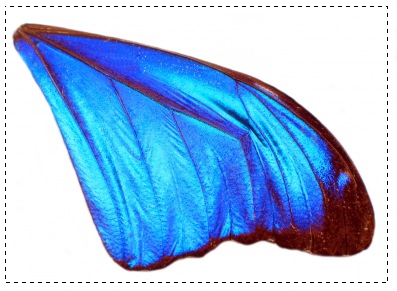
Click-and-drag a selection around the photo. We don't need to remove the white pixels first because they will be transparent in a brush.
Step 4
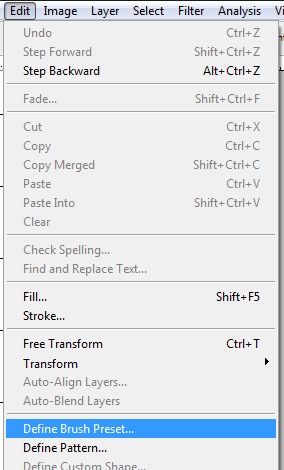
Go to Edit>Define Brush Preset.
Step 5
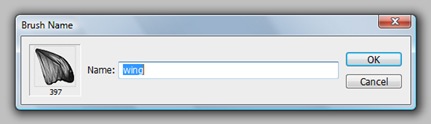
Name the brush something that matches the image, and click OK.
Step 6
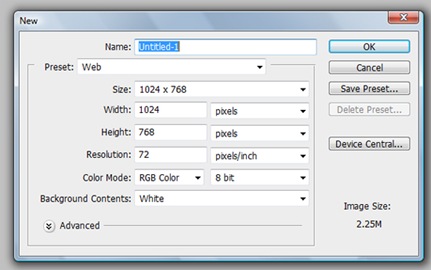
Now that we have the brush defined, go to File>New and create a new file at 1024 x 768. Click OK.
Step 7
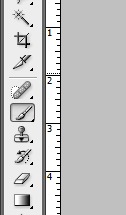
Click the Brush tool on the toolbar.
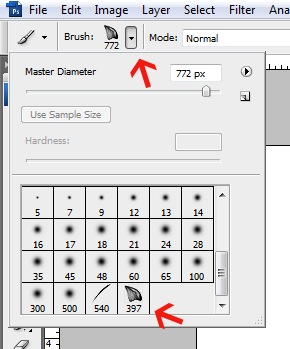
Step 8
Click the arrow on the Options palette which will bring down the brush styles and size options. Scroll down and click the brush we just created. You can change the size here, or change it by pressing the left and right brackets to make the size smaller or larger. Bring the size of the brush to something much smaller, such as 100.
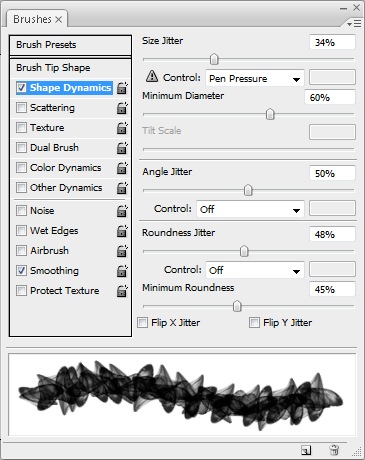
Step 9
Go to Window>Brushes to bring up the Brushes palette. This palette has a lot of options for the Brush tool. Change the Shape Dynamics to these settings by clicking on Shape Dynamics then sliding the sliders. The brush can rotate to a certain degree as we brush. Try various settings as the preview shows how the brush will look.
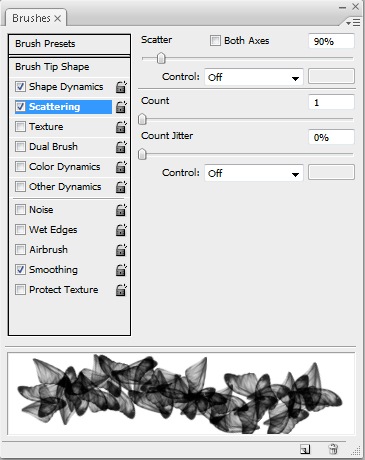
Step 10
Change the Scattering to the settings shown here. Scattering does just that—scatter the brush as we brush. Try various settings as the preview shows how the brush will look.
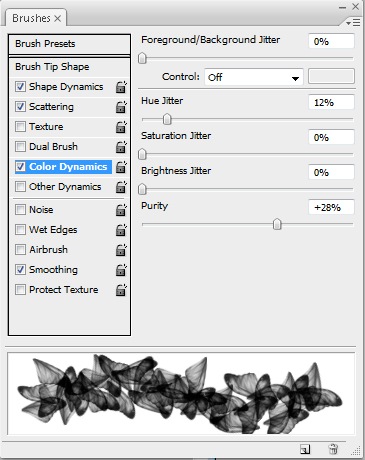
Step 11
Change the Hue Jitter to 12%, because we want to somewhat adjust the hue as the brush is clicked-and-dragged, but within a certain range. Setting it to 100% would cause it to include the entire color range.
Step 12
Now for the fun part: click-and-drag with the Brush tool in a curve.
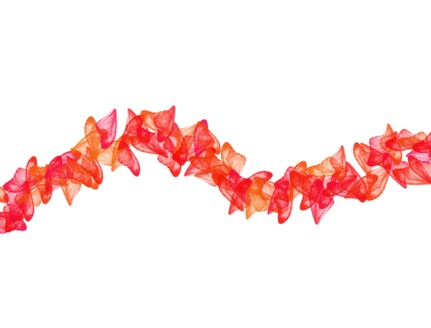
Step 13
Whatever color is selected in the Foreground in the toolbar is the color of the brush. You can have a jitter between the foreground and background color as well as hue jitter from the foreground color.
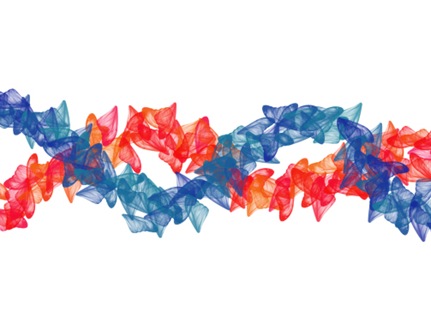
Step 14
If you create a second curved brush path like this, click on New Layer on the Layers palette first, so that we can adjust the layer blending mode on the Layers palette. In this example, I adjusted the top layer blending mode to Multiply.
Step 15
Try various photos and converting them to brushes using the same steps here. Brushes with added Shape Dynamics and Scattering can help create a unique background, such as this one created with a photo of Polaroids.

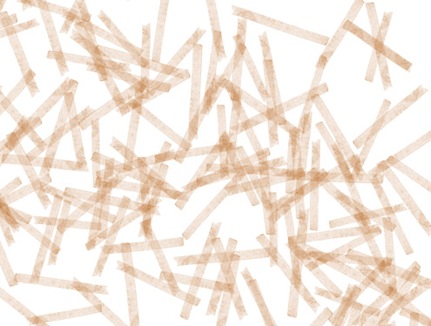
Step 16
This one was created with a scan of tape. Besides creating unique paths, backgrounds are often created with such brushes.
================================
=== For more tutorials keep visiting ;) ===
= http://photoshop-manic.blogspot.com =
================================
No comments:
Post a Comment