Step 1
Open a photo you would like to edit. We recommend using a high resolution image of at least 1000x1000 pixels. It is also fine to upscale a low resolution image before using this effect.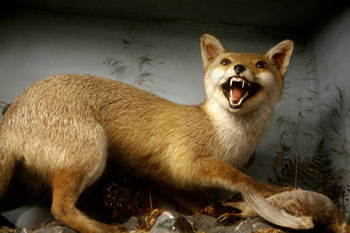
Step 2
Duplicate the layer (Layer> Duplicate Layer or Ctrl+J). 
Step 3
Activate the top layer and apply a Mosaic filter (Filter> Pixelate> Mosaic) with a cell size of 16 square. 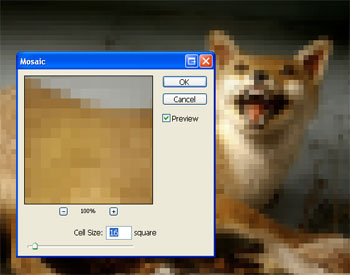
Step 4
Apply a Find Edges filter (Filter> Stylize> Find Edges). 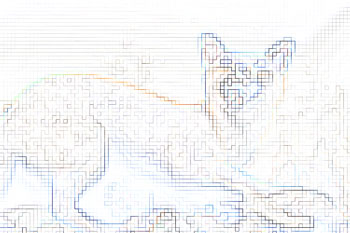
Step 5
Apply a Median filter (Filter> Noise> Median) with a radius of 2 pixels. 
Step 6
Apply a Minimum filter (Filter> Other> Minimum) with a radius by 4 pixels. 
Step 7
Finally, invert the current layer (Image> Adjustments> Invert or Ctrl+I). 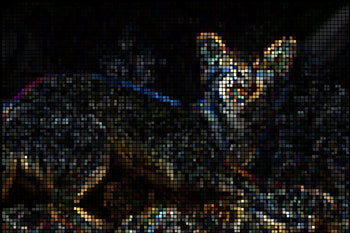
Adding an Outline to the Blocks
Now that we have the blocks created, we'll add a simple outline around them.
Step 8
Duplicate the top layer (Layer> Duplicate Layer or Ctrl+J) and change the blending mode of the new layer to Screen. 
Step 9
Apply a Find Edges filter (Filter> Stylize> Find Edges). 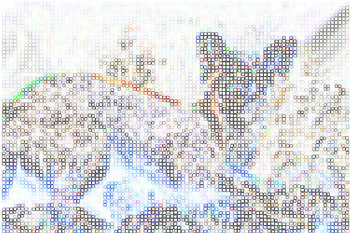
Step 10
Creating the Connectors
We're almost done with the effect. All we need to do now is add the connectors. This is a simple process using a few Photoshop filters.
Step 11
Duplicate the Background layer (Layer> Duplicate Layer or Ctrl+J) and move it to the top. 
Step 12
Apply a Mosaic filter (Filter> Pixelate> Mosaic) with a cell size of 16 square. 
Step 13
Activate the new top layer and apply a Median filter with a radius of 8 pixels. 
Step 14
As you might have guessed, we'll now apply a Find Edges filter (Filter> Stylize> Find Edges). 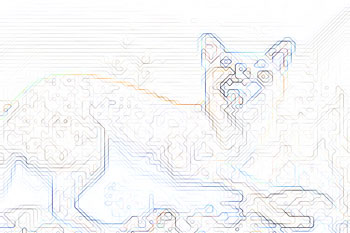
Step 15
Finally, invert the current layer (Image> Adjustments> Invert or Ctrl+I) and change the blending mode to Screen. 
Colorizing the Final Results
This step is optional. If you would like to colorize the final results, follow this step:
Step 16
Add a new Hue/Saturation adjustment layer (Layer> New Adjustment Layer> Hue/Saturation) as the top layer. Checkmark Colorize and apply your desired color settings. Here are the settings I've used for this step:
Colorize: Checked
Hue: 100
Saturation: 100
Lightness: 0 
Final Results
Rollover the images below to see the before and after effect.


NOTE : ALL CREDITS FOR THE ORIGINAL TUTORIAL MAKER :)
=================================
=== For more tutorials keep visiting ;) ===
= http://photoshop-manic.blogspot.com =
=================================
No comments:
Post a Comment