Step 1
Firstly create a new document, I’m just using 600 by 420 pixels like my other tutorials but you might be adding it to a web design so just whatever :) Fill the background with a dark radial gradient, the colours I have used are #2e2e2e and #1c1c1c.

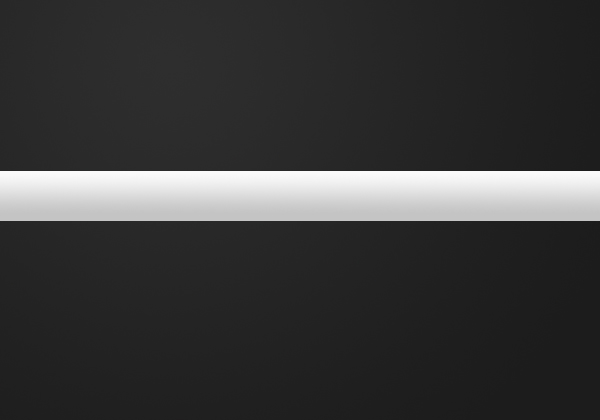
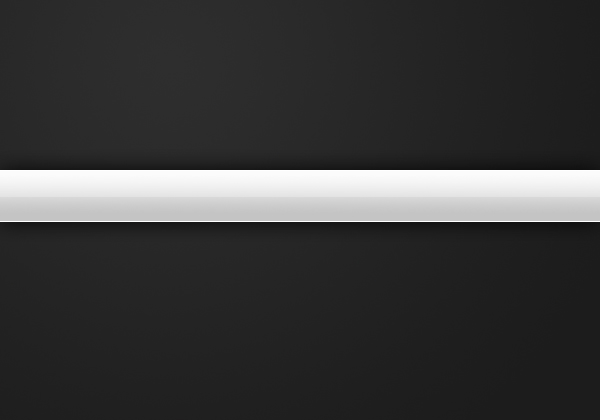
Step 2
On a new layer (Layer > New > Layer) make a selection the width of your document and 50 pixels high using the rectangular marquee tool. Select the gradient tool and set your foreground colour to #fafafa and background to #c4c4c4. Fill your selection with a linear gradient from top to bottom.
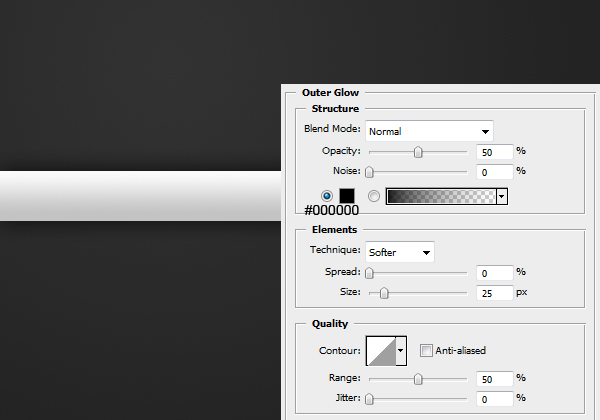
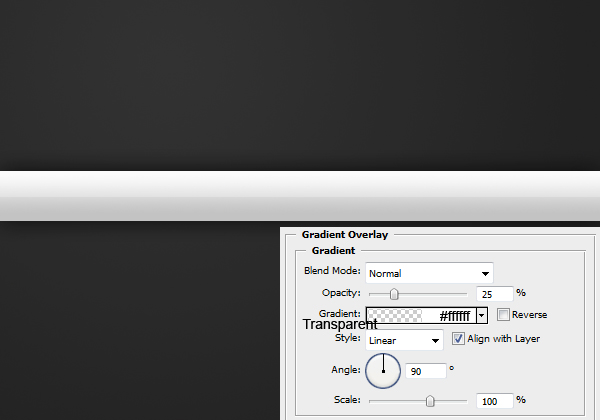
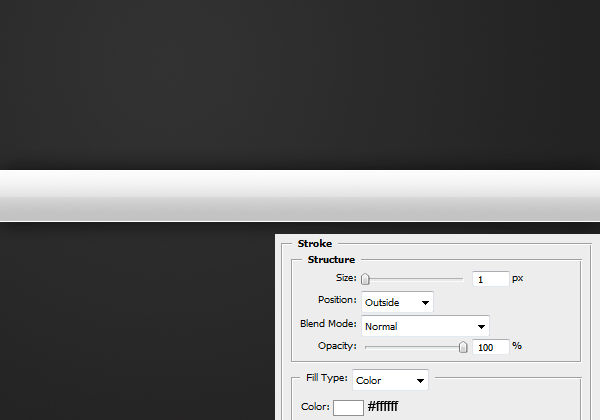
Step 3
Apply the following layer styles to the navigation by right clicking it and going blending options.
Outer Glow
Gradient Overlay
Stroke
Result:
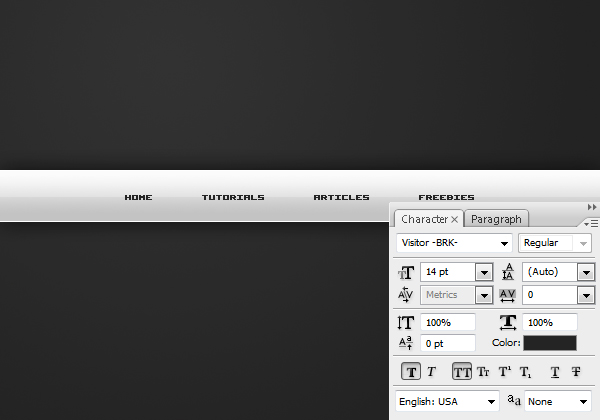
Step 4
Now we are going to be adding the text for the navigation. Using the text tool add some text (aligned center).
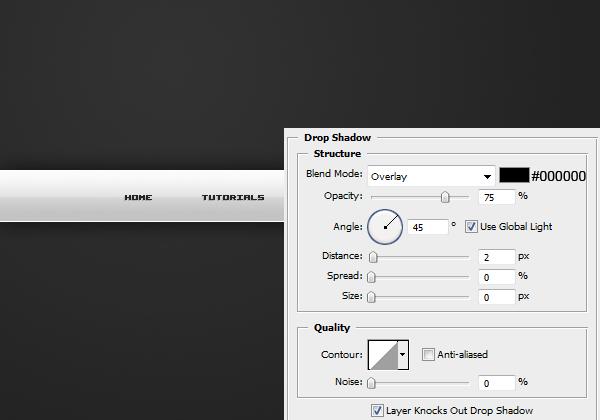
Step 5
To give the text some depth, apply this drop shadow by going Layer > Layer Style > Drop Shadow.
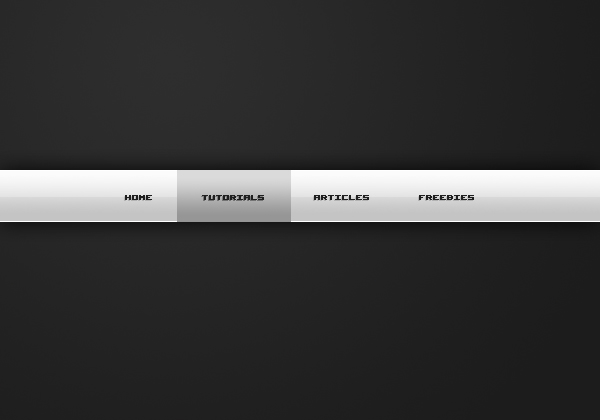
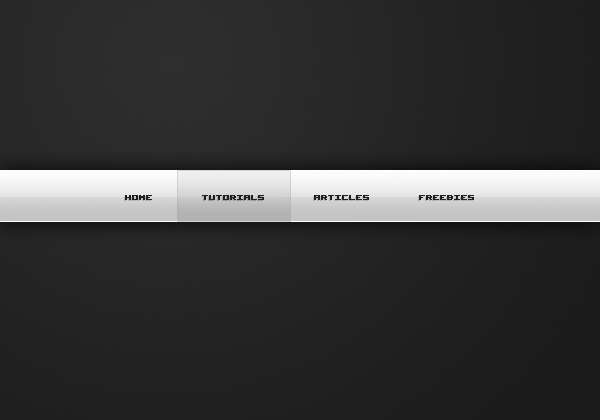
Step 6
Lastly we’re going to be adding a hover effect to one of the links. So zoom in a bit on one of the links and select the rectangular marquee tool. Make a selection around one of the links like so.

Step 7
Fill the selection in with a linear gradient from #dadada to #969696.
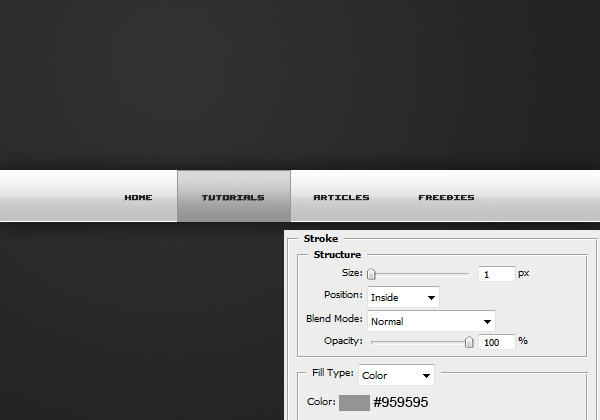
Step 8
Apply this stroke by going Layer > Layer Styles > Stroke.
Step 9
Set this hover layer to 40% and you’re complete! If you’d like to now learn how to code this into html/css then read this tutorial.
NOTE : ALL CREDITS FOR THE ORIGINAL TUTORIAL MAKER :)
=================================
=== For more tutorials keep visiting ;) ===
= http://photoshop-manic.blogspot.com =
=================================
No comments:
Post a Comment