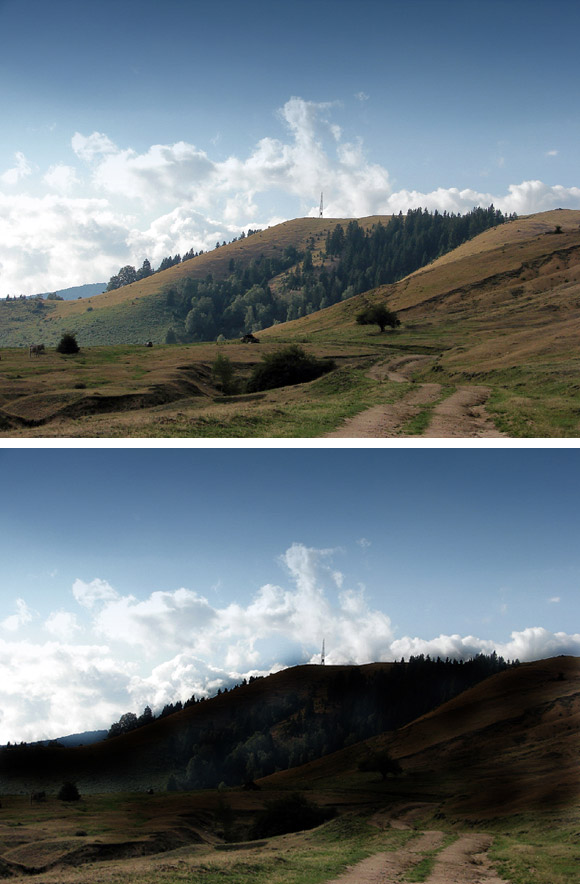
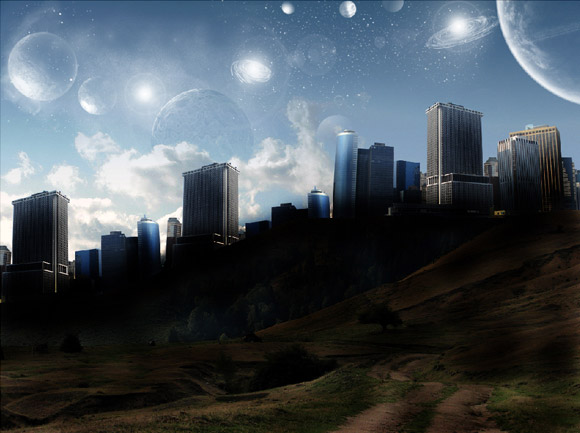
What we're going to be creating
The outcome to this tutorial depends heavily on what you want to create and what's going on in your head. I collected two stock images that I thought would work together before I began from sxc.hu. Here are the links to the stock images I used: Landscape, Cityscape. You can use the same stock images I have, but I would also recommend you to experiment as that's half the fun!

Step 1
Lets get started. To begin open your canvas (I used size 1200×900px) and drag in the landscape stock. From here, pull out the Burn Tool (O) and use it to darken some areas to create some shadow on the hills below the position where the buildings will be.
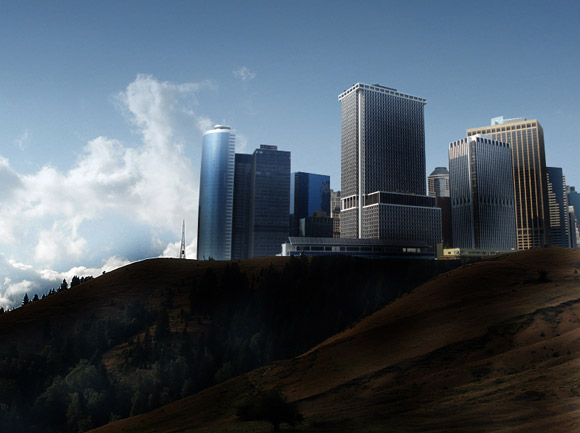
Step 2
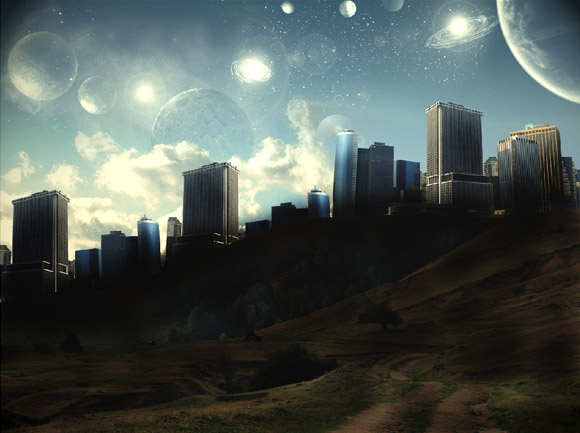
Next, drag in the cityscape stock, resize it, and position it (I lowered its Opacity to 30% in order to position it) so the buildings nest on top of the hill. You can position it where you like. Next you need to get rid of all of the parts of the stock we don't need so you have to do the tedious job of rendering around the buildings.
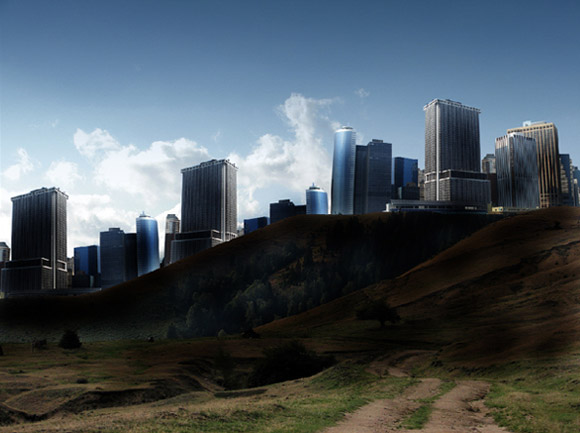
Step 3
Next, duplicate the rendered stock layer and flip them around a bit and position them so that they fill the rest of the hilltops.
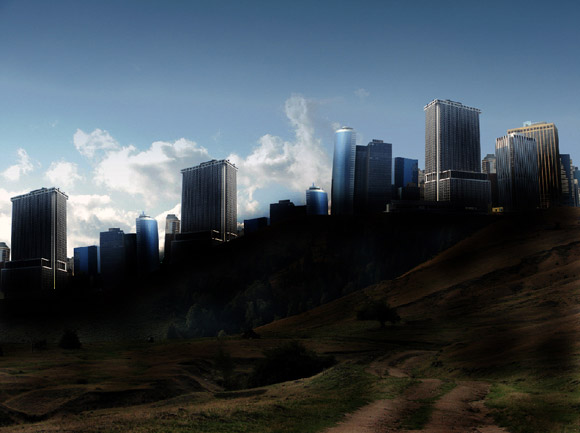
Step 4
Now, create a new layer and apply the image: Image > Apply Image. On this new layer, take out the Burn Tool again and darken the areas where the buildings meet the hilltops to create a smoother transition and in the sky area surrounding the buildings.
Step 5
For the next step, you will need some star/planet brushes. I got mine from DeviantArt. On a new layer, select a few brushes that you like, and in two or three places add the brushing to the sky.
Step 6
Next, we are going to create a new layer and apply the image again (Image > Apply Image). Now we are going to add some lighting to this layer, so go to Filter > Render > Lighting Effects and select 2 0'Clock Spotlight. Play about with the angling settings until you get something that you like.
Step 7
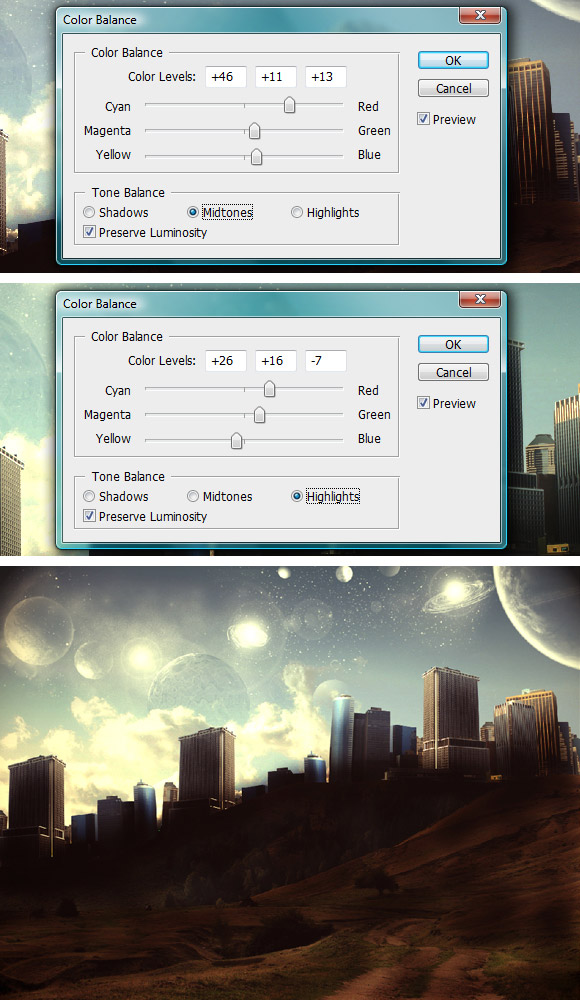
Make another new layer and apply the image yet again. We are going to play around with the coloring now so go to Image > Adjustments > Color Balance. Select the Midtones radio button and in the three Color Levels boxes, enter these values: +46 +11 +13. Now select the Highlights radio button and enter these values: +26 +16 -7. Again, you can play around with these settings if you want a different look.
Step 8
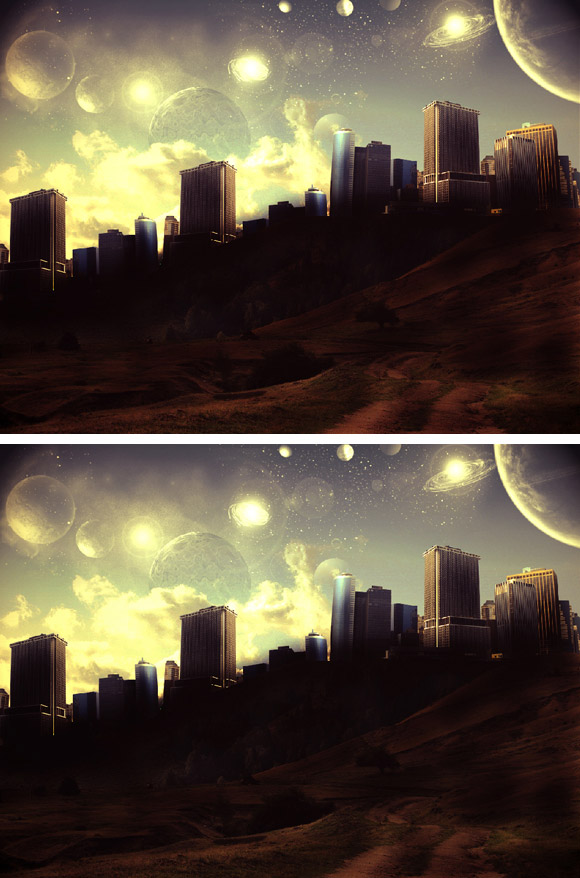
Next, we are going to add two gradient maps. To do this click on the half black, half white circle on the bottom of the layers palette and from the menu select Gradient Map. In the dialogue box, select the Purple > Orange gradient which should be a default one and click ok. Set this layer to soft light and lower the Opacity to 50%. Do the same again but this time select a Black > White gradient map. Set this to Darken and lower the Opacity to 20%.
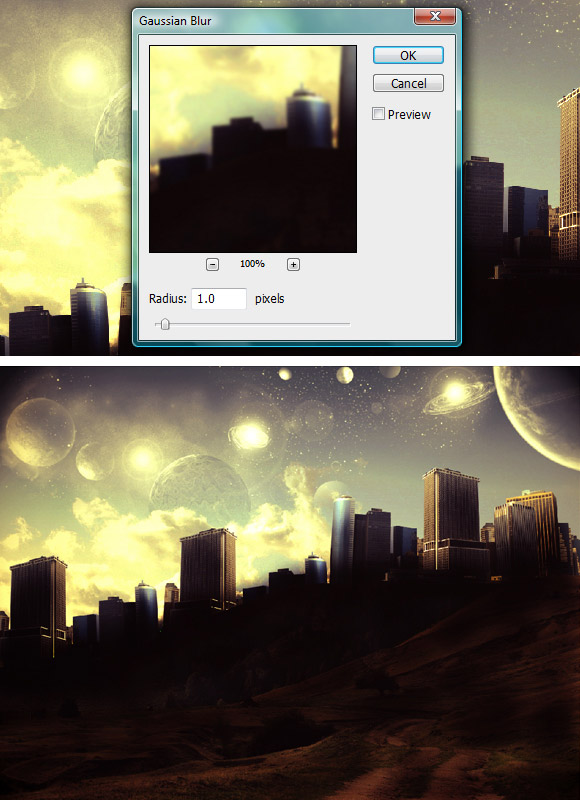
Step 9
Create another new layer and apply the image again. Go to Filter > Blur > Gaussian Blur, drag the slider to around 1.0 and hit Enter. I then set this layer to soft light at 20%.
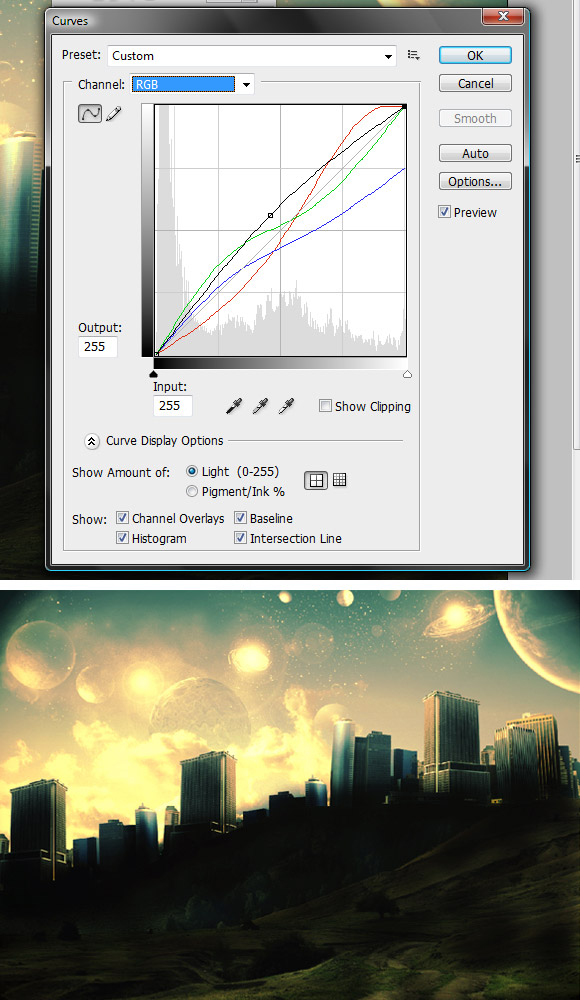
Step 10
Next, we're going to play around with the depth of the image using curves. To do this, click on the half black, half white circle on the bottom of the layers palette and from the menu click on Curves. From the Preset list, select Custom. Now play around with the curves for each RGB color in the Channels list. This will have a big impact the overall look of your finished piece, so feel free to experiment.
Step 11
Next, we will sharpen the image, so go to Filter > Sharpen > Sharpen. Lower the Opacity of this layer to 30%.
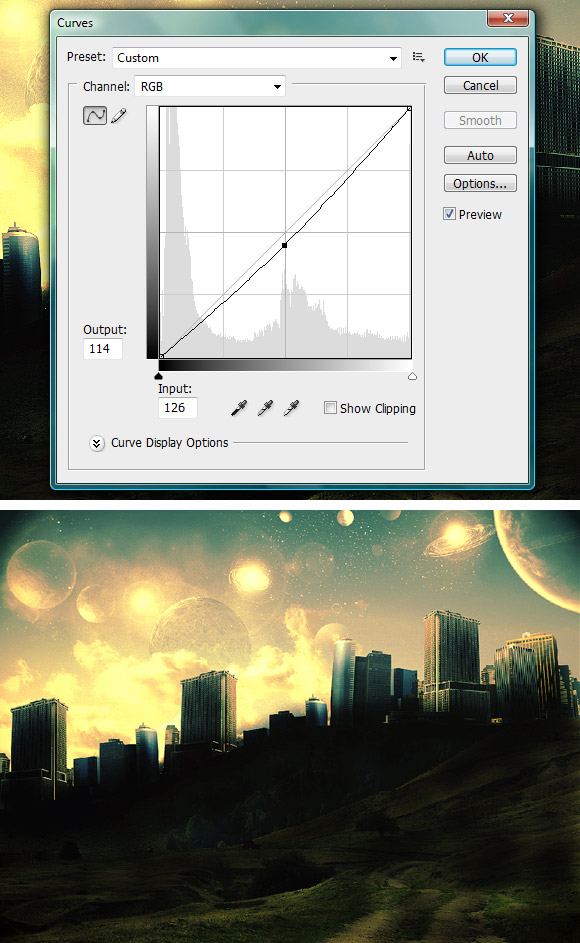
Step 12
To add a bit more depth to the image, we will add another curves layer. Set the Preset back to None and play about with the curves until you get something you like.
Conclusion
Hopefully you will find something in the tutorial useful. Remember...the only limit is your imagination, so don't hold back.
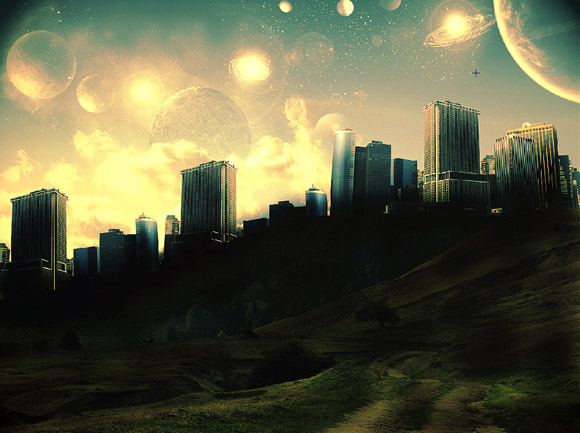
Here's the final piece
1 comment:
I have a love/hate relationship with virtual memory because of how prices are always falling. I hate buying SD Cards for my R4 / R4i at (what seems to be) a cheap price only to see it become a whole lot more cheaper a couple of months later.
(Submitted using Nintendo DS running [url=http://www.gather.com/viewArticle.action?articleId=281474978023679]R4i DS[/url] InterPost)
Post a Comment